Welcome to the Drew Barrymore Coffee Maker manual! This guide blends style and functionality, helping you master your coffee maker from setup to maintenance. Happy brewing!
Overview of the Coffee Maker Models
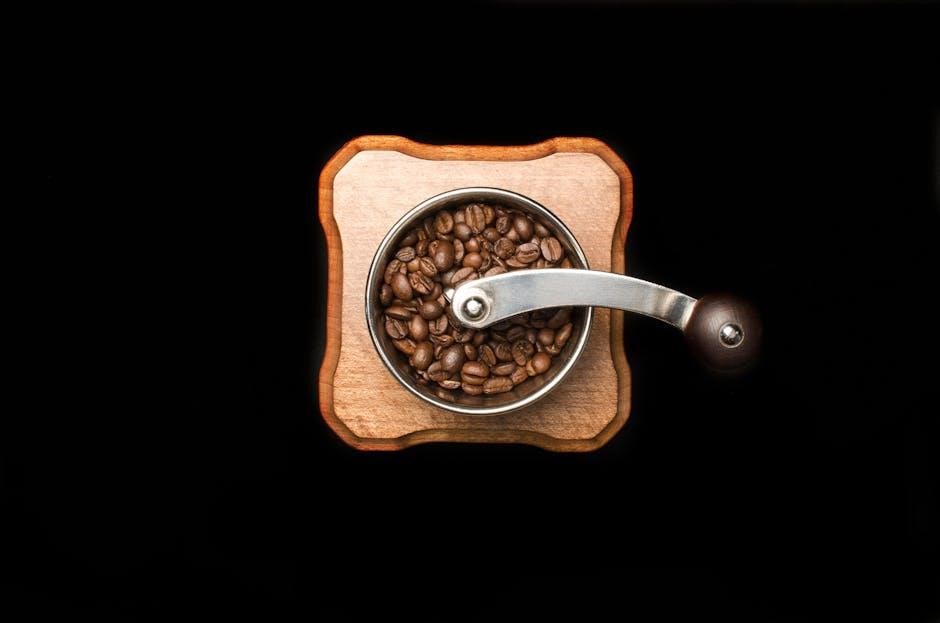
The Drew Barrymore Coffee Maker lineup includes the Perfect Grind Programmable Single Serve and the Beautiful 14-Cup Programmable models. Both offer sleek designs, programmable features, and customizable brew options. The single-serve model includes a built-in grinder, while the 14-cup version features a touch-activated display and glass carafe. Available in colors like White Icing, Sage Green, and Black Sesame.
Importance of Reading the Manual
Reading the instruction manual ensures safe operation, optimal performance, and troubleshooting. It guides users on electrical safety, proper cleaning, and maintenance. Understanding the manual helps maximize the coffee maker’s features, prevent damage, and address common issues. It also outlines warranty details and customer support options for a seamless experience with your Drew Barrymore Coffee Maker.
Setting Up Your Drew Barrymore Coffee Maker
Setting up your Drew Barrymore Coffee Maker involves unboxing, initial preparation, and plugging in. Follow the manual’s step-by-step guide for a seamless setup experience and optimal performance.
Unboxing and Initial Preparation
Begin by carefully unboxing your Drew Barrymore Coffee Maker. Inspect for any damage and remove all packaging materials. Wash the carafe and any accessories with warm soapy water before first use. Ensure all parts are dry and properly assembled. Refer to the manual for guidance on initial setup and preparation to ensure optimal performance from the start.
Filling the Water Reservoir
Locate the water reservoir, typically positioned at the side or rear of the Drew Barrymore Coffee Maker. Open the reservoir lid and fill it with fresh, cold water only. Avoid using other liquids or food products, as this may damage the machine. Ensure the water level does not exceed the maximum indicated mark. Replace the lid securely before brewing.
Plugging in and Powering On
Plug the Drew Barrymore Coffee Maker into a 120V AC polarized electrical outlet. Ensure the cord is securely connected to both the machine and the power source. Once plugged in, press the power button to turn it on. The touch-activated display will illuminate, indicating the machine is ready for programming or brewing. Always use water only in the reservoir.

Operating the Coffee Maker
Mastering your Drew Barrymore Coffee Maker is simple. Use the touch-activated display to select brew sizes, strength, and programmable settings. Ensure water is in the reservoir before brewing for optimal results.
Understanding the Touch-Activated Display

The touch-activated display on your Drew Barrymore Coffee Maker is intuitive and illuminates for easy navigation. Use it to set brewing preferences, adjust strength, and program your coffee schedule. The interface is designed to simplify your experience, ensuring each cup meets your expectations with minimal effort. Explore its features for a seamless brewing process.
Selecting Brew Sizes and Strength
Easily customize your coffee experience by selecting from various brew sizes (6, 8, 10, or 12 oz) and strength levels (light, medium, or bold). The touch-activated display allows you to adjust settings with a simple tap. Choose your preferences to ensure every cup is tailored to your taste, with optimal temperature and precise brewing for maximum flavor extraction.
Brewing Your First Cup
Start by ensuring the water reservoir is filled and the machine is powered on. Place a coffee pod or grounds in the designated compartment. Use the touch-activated display to select your preferred brew size and strength. Once set, the machine will begin brewing, delivering a perfectly balanced cup. Enjoy your first delicious brew with ease!
Maintenance and Cleaning
Regularly clean the brew basket and water reservoir to prevent buildup. Descale every 3-6 months for optimal performance. Replace filters as needed for best taste.
Daily Cleaning Routine
After each use, rinse the brew basket and carafe with warm water. Wipe down the machine with a damp cloth to remove any splatters or residue. Regularly empty the drip tray and clean it with mild soap to prevent mold growth. This routine ensures optimal hygiene and maintains your coffee maker’s performance.
Descaling the Machine
Regular descaling removes mineral buildup, ensuring optimal performance. Use a descaling solution or vinegar mixture, running it through the machine as directed. After descaling, rinse thoroughly with fresh water to eliminate any residue. This process maintains flavor quality and prevents scaling damage, keeping your coffee maker in prime condition for years to come.
Replacing Filters
Replace water filters every 1-2 months or as needed to maintain water quality and flavor. Turn off the machine, let it cool, then remove the old filter. Insert a new compatible filter, ensuring it’s securely fitted. Refer to your manual for specific model instructions to ensure proper replacement and optimal performance of your coffee maker.
Troubleshooting Common Issues
Address power issues by checking connections and resetting. Refer to the manual for error message solutions; Regular cleaning prevents clogs and ensures optimal performance always.
Power Issues and Error Messages
Ensure the Coffee Maker is plugged into a 120V AC polarized outlet. If issues arise, unplug, wait, and restart. Check for error codes like E1 or E2 in the manual. These often relate to heating or sensor problems. Resetting the machine usually resolves these issues. Always refer to the troubleshooting section for specific solutions.
Brewing Time and Temperature Problems
If your Coffee Maker brews too slow or the temperature is off, descale the machine and check water flow. Ensure the filter is clean and the reservoir is filled correctly. Refer to the manual for optimal temperature settings. Adjusting brew strength can also help achieve your desired flavor and brewing time efficiently.
Leaking or Clogging
If your Coffee Maker leaks or clogs, check for blockages in the brew head or water reservoir. Clean the machine regularly to prevent mineral buildup. Descale every 3-6 months to remove hard water deposits. Ensure all parts are properly aligned after cleaning. For persistent issues, refer to the manual for detailed troubleshooting steps or contact customer support.
Accessories and Additional Features
Discover compatible accessories and additional features like programmable brewing, touch-activated displays, and stylish designs that elevate your coffee experience with the Drew Barrymore Coffee Maker.
Compatible Accessories
The Drew Barrymore Coffee Maker supports various accessories, including reusable filters, travel mugs, and water filters. These enhance performance and convenience, ensuring a perfect brewing experience every time while maintaining style and functionality.
Advanced Features like Programmable Brewing
Experience the future of coffee with programmable brewing on the Drew Barrymore Coffee Maker. Set timers, customize brew strength, and schedule brewing up to 24 hours in advance. This feature ensures your coffee is ready exactly when you want it, combining convenience with a perfect cup every time.
User Reviews and Feedback
Users praise the coffee maker’s elegant design and programmable features but note challenges with cleaning and occasional durability issues over time.
Pros and Cons from Real Users
Users highlight the coffee maker’s sleek design, programmable brewing, and user-friendly interface. However, some note challenges with cleaning and occasional issues with brew strength consistency over time.
Common Praise and Criticisms
Users often praise the coffee maker’s elegant design, ease of use, and programmable features. Critics mention challenges with cleaning and occasional temperature inconsistencies. Overall, it’s a stylish addition to kitchens, though maintenance requires attention for optimal performance.

Programming Your Coffee Maker
Programming your Drew Barrymore Coffee Maker allows you to customize your brewing experience. Set the clock and timer easily using the touch-activated display. Choose your preferred brew time, strength, and size for a perfect cup every morning. Explore advanced features like programmable brewing to suit your lifestyle and coffee preferences. Happy brewing!
Setting the Clock and Timer
Setting the clock and timer on your Drew Barrymore Coffee Maker is straightforward. Use the touch-activated display to set the current time and schedule brewing in advance. Program your preferred brew time and strength to enjoy a perfectly timed cup. This feature ensures your coffee is ready exactly when you need it, every time.
Customizing Brew Settings
Customize your brewing experience with the Drew Barrymore Coffee Maker by selecting from various brew sizes and strength options. Use the touch-activated display to choose between bold or regular settings. You can also program custom preferences to ensure your coffee is tailored to your taste. This feature allows for a personalized brewing experience every time you use the machine.

Safety Precautions
Always read the manual before use. Plug into a 120V AC outlet only. Use water exclusively. Avoid other liquids or foods. Follow electrical safety guidelines carefully.
Electrical Safety Guidelines
Plug your Drew Barrymore Coffee Maker into a 120V AC polarized outlet only. Avoid using extension cords or overloaded circuits. Ensure the power cord is undamaged and dry. Keep children away from electrical components. Unplug during cleaning or maintenance, and never submerge the machine in water. Always follow these guidelines for safe operation.
Proper Handling and Storage
Handle your Drew Barrymore Coffee Maker with care to ensure longevity. Avoid using abrasive cleaners or scouring pads. Store the machine in a cool, dry place, away from direct sunlight. Regularly clean and dry the brew basket and drip tray before storing. Always unplug and allow the machine to cool before cleaning or storing it.
Final Tips for Optimal Performance
Regularly clean and descale your Drew Barrymore Coffee Maker to ensure peak performance. Replace water filters as recommended and use fresh, filtered water for the best taste. Explore advanced features like programmable brewing and customizable settings to enhance your coffee experience. Proper maintenance will keep your machine running smoothly for years to come. Happy brewing!
Resources for Further Assistance
For additional support, visit the official Drew Barrymore website or download the instruction manual PDF for detailed guidance. Contact customer support for troubleshooting or inquiries. Explore model-specific resources for Beautiful Perfect Grind or Beautiful 14-Cup Programmable coffee makers. Follow official social media channels for updates and tips to enhance your coffee-making experience.