Discover the art of building a wood-fired oven with our comprehensive PDF plans. Perfect for outdoor cooking enthusiasts, these plans guide you through constructing authentic, high-performance ovens, ensuring delicious results every time. Whether you’re aiming for a Neapolitan-style oven or a traditional design, our detailed instructions cover materials, construction, and maintenance. Start your culinary journey with a professional-grade oven built in your backyard!
1.1 Overview of Wood Fired Ovens
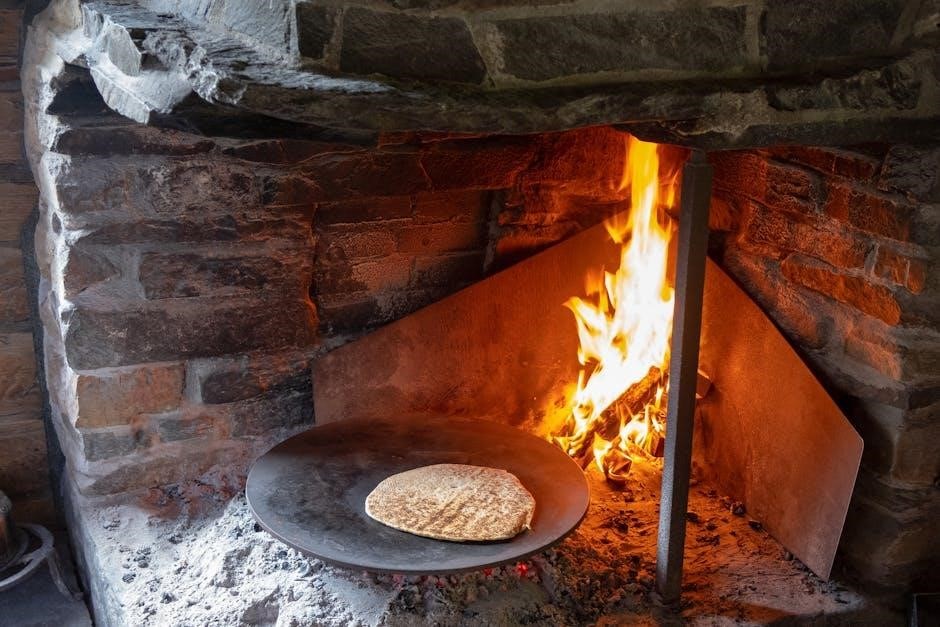
A wood-fired oven is a traditional cooking appliance that uses wood as fuel, ideal for baking, roasting, and cooking dishes like pizza and bread. Known for its distinctive dome shape, it retains heat effectively, ensuring even cooking temperatures. Constructed with firebricks and refractory materials, these ovens are designed to withstand high temperatures and maintain heat retention. The foundation requires a concrete slab for stability, typically 100 mm thick, elevated 50 mm above ground to prevent water infiltration. Safety considerations include proper clearances from flammable materials and adequate ventilation to prevent fires. Various styles, such as Neapolitan and Roman, offer different cooking experiences, while finishes and aesthetics allow for customization. Wood-fired ovens blend functionality with cultural heritage, making them a rewarding DIY project for outdoor cooking enthusiasts.
1.2 Importance of Using PDF Plans
Using PDF plans for constructing a wood-fired oven ensures accuracy and simplicity. These plans provide detailed, step-by-step instructions, measurements, and material lists, minimizing errors. They often include diagrams and visuals, making complex processes easier to understand. PDF plans are accessible on multiple devices, allowing easy reference during construction. Many are free or low-cost, offering budget-friendly guidance. They also cover safety tips and maintenance advice, ensuring a safe and durable oven. With PDF plans, enthusiasts can build professional-grade ovens without prior experience, saving time and effort. They are a vital resource for achieving a successful and functional wood-fired oven project. Downloading a PDF ensures you have all the information needed in one convenient format, making your DIY journey seamless and enjoyable.
Types of Wood Fired Ovens
Wood-fired ovens vary in style, with popular types including Neapolitan, Roman, and regional designs. Each offers unique features, such as dome shapes and cooking efficiencies, tailored to specific needs.
2.1 Neapolitan-Style Ovens
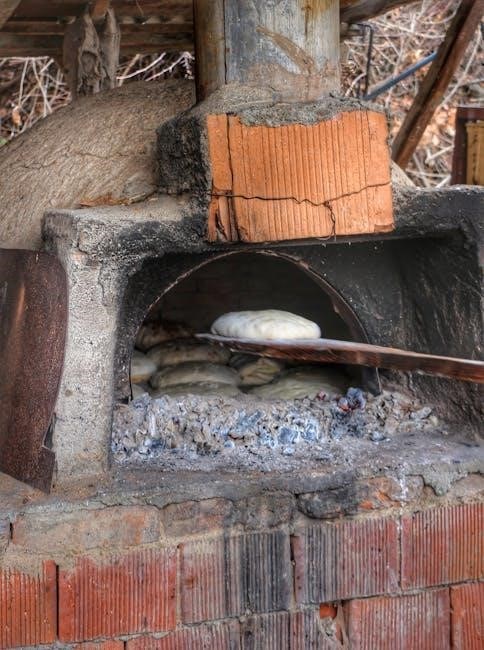
Neapolitan-style ovens are iconic for their flatter dome and lower height, enabling rapid cooking and distinctive crusts. These ovens are built with firebricks and require precise construction to maintain high heat retention, essential for authentic Neapolitan pizza. Their design emphasizes a wide mouth for easy access and a shorter dome to concentrate heat. Plans often include detailed measurements and techniques to replicate the traditional Italian design. With proper materials and construction, these ovens deliver the classic wood-fired pizza experience, making them a favorite among enthusiasts. Their compact size also makes them suitable for various backyard settings, blending functionality with heritage.
2.2 Roman-Style Ovens
Roman-style ovens are renowned for their timeless design, characterized by a more rounded shape and larger interior compared to Neapolitan ovens. These ovens have evolved from ancient Roman traditions, with historical records from figures like Vitruvius detailing their proportions. Roman ovens often feature a dome with a longer profile, allowing for even heat distribution and the ability to cook multiple dishes simultaneously. Their construction typically involves firebricks and refractory materials, ensuring durability and high heat retention. The design emphasizes practicality, with a focus on versatility for various culinary uses beyond pizza. Proper insulation and ventilation are key to their performance, making them a popular choice for those seeking a traditional, multi-functional wood-fired oven.
2.3 Other Regional Variations
Wood-fired ovens vary widely across different regions, reflecting local traditions and culinary practices. Beyond Neapolitan and Roman styles, other variations include Spanish, Greek, and Turkish designs. Spanish ovens often feature a broader, more open mouth for roasting meats, while Greek ovens may incorporate additional cooking surfaces. Turkish designs frequently include multiple chambers for versatile cooking. Each regional style offers unique features, such as varying dome shapes, entrance sizes, and materials, tailored to specific dishes. These variations highlight the adaptability of wood-fired ovens to diverse cultural and gastronomic needs, providing builders with a range of creative options when selecting a design to suit their preferences and cooking goals.
Materials Required for Construction
Constructing a wood-fired oven requires high-quality materials, including firebricks, refractory mortar, sand, and concrete for the foundation. Essential tools like trowels, levels, and saws ensure precise construction and durability.
3.1 Firebricks and Refractory Materials
Firebricks are the cornerstone of a wood-fired oven, providing exceptional heat resistance and durability. These specialized bricks are designed to withstand extreme temperatures without cracking or degrading. Refractory materials, such as high-temperature mortar and insulation, are equally crucial for maintaining heat retention and structural integrity. When selecting firebricks, ensure they are rated for high heat and suitable for outdoor use. Refractory materials should be applied carefully to prevent gaps that could lead to heat loss or damage. Proper installation, as detailed in PDF plans, ensures a long-lasting and efficient oven. Always prioritize quality to achieve optimal performance and safety in your wood-fired oven construction.
3.2 Sand and Concrete for the Foundation
The foundation of a wood-fired oven requires a robust concrete slab to ensure stability and durability. Typically, a 100 mm thick concrete slab is recommended, with a finished level about 50 mm above ground to prevent water ingress. Sand plays a crucial role in the mix, providing the necessary binding properties. A standard mix consists of cement, sand, and aggregate in specific proportions, ensuring strength and resistance to heat. Properly leveling the ground and using a reinforced base are essential steps outlined in PDF plans. Once poured, the slab must cure completely before proceeding with oven construction. A well-laid foundation is vital for the oven’s structural integrity and long-term performance, making it a critical step in the building process.
3.4 Tools and Equipment Needed
Building a wood-fired oven requires specific tools and equipment to ensure a successful construction process. Essential tools include a trowel for applying mortar, a level to ensure even surfaces, and a shovel for mixing materials. A concrete mixer or wheelbarrow is necessary for preparing the foundation mix. Safety gear like gloves and goggles is crucial when handling materials. Additional tools such as a brick saw, sanding block, and a measuring tape are vital for precise cuts and alignments. Specialized equipment like a refractory trowel is recommended for handling high-temperature materials. Having all tools organized and within reach will streamline the process and ensure efficiency. Proper equipment ensures accuracy and safety throughout the oven-building journey.
Site Preparation and Planning
Proper site preparation is crucial for a successful wood-fired oven installation. Assess the location for drainage, accessibility, and safety, ensuring a stable foundation and adequate clearance for operation.
4.1 Choosing the Right Location
Choosing the right location for your wood-fired oven is essential for functionality and safety. Ensure the area is level, well-ventilated, and away from flammable materials. Consider proximity to your kitchen to simplify food preparation. The oven should be positioned to avoid wind directions that could disrupt airflow. A slightly elevated spot can prevent water from pooling around the base. Additionally, check local building codes and regulations regarding outdoor ovens. Accessibility to utilities like water and electricity, if needed, should also be considered. Proper placement will enhance your cooking experience and ensure long-term durability of your oven.
4.2 Preparing the Concrete Slab Foundation
Preparing a concrete slab foundation is a critical step in building a wood-fired oven. Start by leveling the ground and marking the area according to your plans. Dig a shallow excavation, ensuring it is even and compact. Lay a layer of sand or aggregate for drainage and stability. Mix and pour the concrete, ensuring it is 100 mm thick, as recommended. Allow the slab to cure completely, following the manufacturer’s instructions. The finished level should be about 50 mm above ground to prevent water from pooling. A properly prepared foundation ensures the oven’s stability and longevity, providing a solid base for the structure. This step requires patience and precision to achieve a durable result.
4.3 Safety Considerations for Placement
Ensuring proper placement of your wood-fired oven is crucial for safety. Position the oven at least 10 feet away from flammable materials like trees, fences, or overhanging branches. Maintain clearances from windows and doors to prevent smoke ingress. Install heat-resistant barriers, such as fireproof panels, around the oven to protect nearby structures. Ensure the area is well-ventilated to avoid carbon monoxide buildup. Keep the oven away from pedestrian paths to prevent accidents. Regularly inspect the surrounding area for leaves or debris that could ignite. Always follow local fire safety regulations and consider consulting a professional for compliance. Proper placement minimizes fire risks and ensures safe, enjoyable cooking experiences.
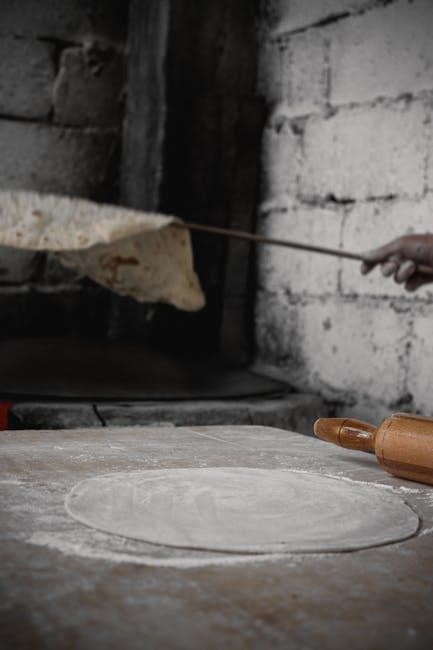
Step-by-Step Construction Guide
Build a wood-fired oven with ease using our detailed PDF guide. Follow step-by-step instructions for constructing the hearth, dome, and chimney, ensuring a professional finish. Start cooking today!
5.1 Building the Hearth
Constructing the hearth is the foundation of your wood-fired oven. Begin by laying a 100 mm thick concrete slab, ensuring it is level and 50 mm above ground to prevent water ingress. Use reinforced concrete for strength and durability. Once set, install firebricks on top, securing them with refractory mortar. This layer ensures heat retention and protects the structure from intense temperatures. Properly align the bricks to create a smooth, even surface for the oven floor. Allow the mortar to cure fully before proceeding to the next step. A well-built hearth is essential for optimal performance and safety.
5.2 Constructing the Dome
Building the dome requires precision and care to ensure structural integrity and optimal heat retention. Begin by creating a temporary framework or mold to shape the dome. Use firebricks, carefully cutting and placing them around the mold with refractory mortar to secure them. Ensure tight joints for even heat distribution. Once the bricks are set, remove the mold and allow the mortar to cure. Finally, apply insulation to the dome to enhance heat retention and improve efficiency. This step is crucial for achieving the perfect cooking environment in your wood-fired oven.
5.3 Installing the Oven Door and Chimney
Installing the oven door and chimney is a critical step that ensures proper ventilation and heat control. Begin by attaching the door frame to the oven opening using refractory mortar for a secure seal. The door should be level and aligned to prevent heat loss. Next, construct the chimney using firebricks or metal, ensuring it extends at least 3 feet above the oven roof for adequate draft. Use refractory mortar to seal gaps and ensure durability. Finally, install a chimney damper to regulate airflow and heat distribution. Proper installation of these components is essential for achieving efficient combustion and maintaining a safe cooking environment.
5.4 Applying Insulation and Render
Applying insulation and render is essential for retaining heat and protecting your oven from the elements; Start by wrapping the dome with ceramic fiber insulation, securing it with wire mesh. This layer ensures heat retention and prevents cracking. Next, apply a render of sand, cement, and water around the insulation, smoothing it with a trowel. Allow the render to cure completely, following the manufacturer’s instructions. For added protection, consider a second coat or a weatherproof finish; Proper insulation and rendering not only enhance efficiency but also extend the oven’s lifespan, ensuring years of enjoyable cooking.
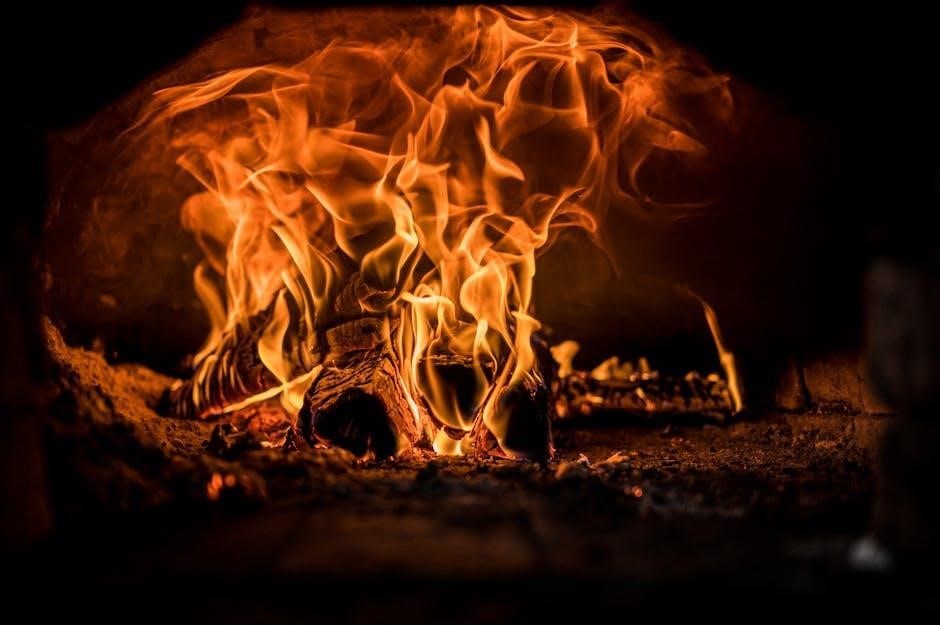
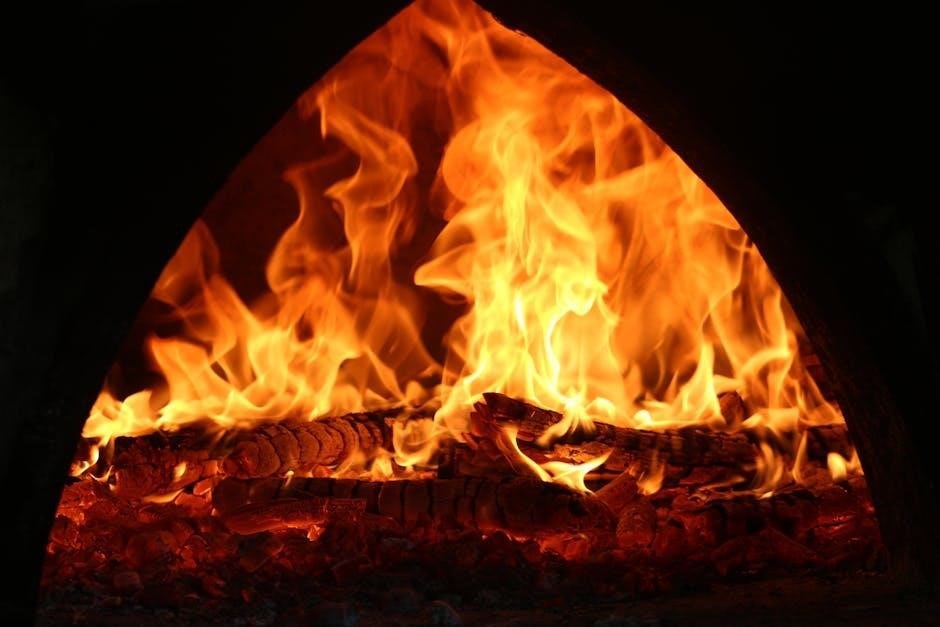
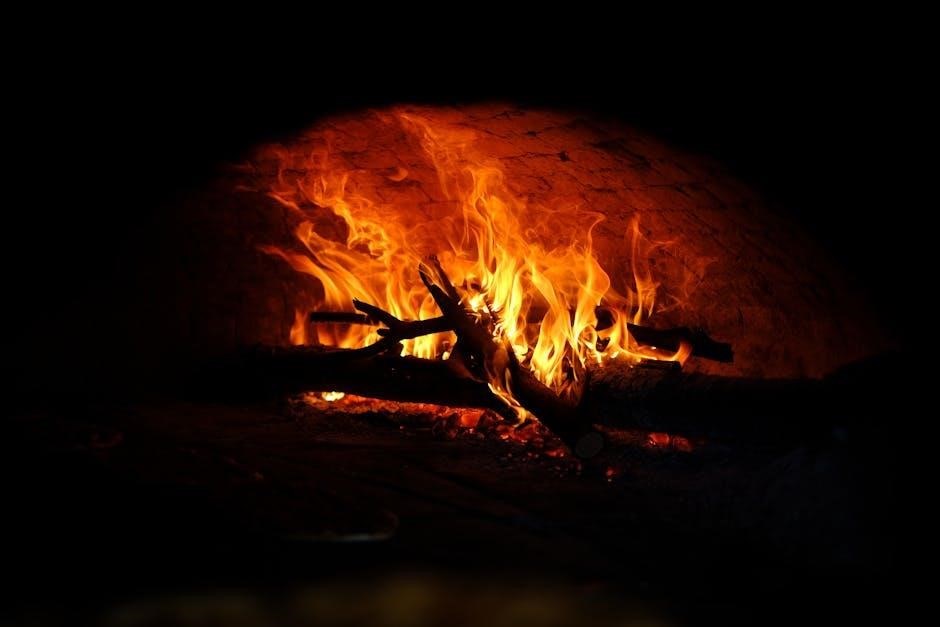
5.5 Curing the Oven
Curing the oven is a critical step to ensure its longevity and performance. After constructing the oven, allow it to dry completely before use. Start by lighting small fires indoors, gradually increasing the size and temperature over several days. This process, known as “curing,” helps eliminate moisture and strengthens the structure. Avoid high heat initially, as it can cause cracking. Maintain a moderate temperature for the first week, then slowly increase it. Complete curing may take 2-3 weeks. Once cured, your oven will be ready for regular use, providing even heat distribution and durability for years of cooking enjoyment.
Design Considerations
Design considerations include shape, proportions, ventilation, and aesthetics. Proper airflow and insulation are crucial for performance and efficiency. Exterior finishes enhance both functionality and visual appeal.
6.1 Shape and Proportions of the Oven
The shape and proportions of a wood-fired oven play a crucial role in its performance. Traditional designs, such as the Neapolitan-style, feature a flatter dome and a wider opening, allowing for efficient cooking. The dome’s curve helps distribute heat evenly, ensuring consistent cooking temperatures. Proper proportions ensure that the oven heats up quickly and retains heat effectively. When following PDF plans, adhering to these measurements is essential for achieving optimal results. A well-designed oven not only enhances cooking performance but also adds an aesthetic appeal to your outdoor space, making it a focal point for gatherings and meals;
6.2 Ventilation and Airflow Design
Proper ventilation and airflow are critical for the efficient operation of a wood-fired oven. A well-designed chimney and venting system ensure that smoke and gases are effectively removed, while maintaining optimal heat retention. The oven door plays a key role in controlling airflow, allowing for precise temperature management. Strategic placement of vents and openings ensures that oxygen flows freely, supporting combustion and even heat distribution. Adequate ventilation also prevents the buildup of harmful fumes, enhancing both safety and cooking performance. PDF plans often include detailed diagrams to guide the installation of these features, ensuring your oven functions efficiently and safely. Proper airflow design is essential for achieving the perfect cooking conditions.
6.3 Aesthetics and Finish Options
Wood-fired ovens can be customized to blend seamlessly with your outdoor space while adding a touch of rustic charm. PDF plans often include suggestions for exterior finishes, such as brick facades, stone veneer, or rendered plaster, allowing you to choose a style that complements your garden or patio. Insulation is typically covered with a protective layer, which can be finished with decorative materials like tiles or metal accents. The chimney and door can also be styled to match your aesthetic preferences. Whether you prefer a traditional Italian look or a modern design, the finish options ensure your oven becomes a focal point of your outdoor kitchen. These customizable features make your wood-fired oven both functional and visually appealing.
Safety and Maintenance Tips
Ensure your wood-fired oven operates safely by maintaining proper clearances, inspecting for damage, and cleaning regularly. Always follow local fire safety guidelines and vent properly to prevent hazards.
- Prevent oven-related fires by keeping flammable materials away and ensuring proper installation.
- Regular maintenance includes checking for cracks and ensuring the chimney is clear.
7.1 Preventing Oven-Related Fires
Preventing oven-related fires requires careful planning and adherence to safety guidelines. Ensure proper installation with adequate clearances from flammable materials. Regularly inspect the oven for cracks or damage, as these can lead to unintended fires. Keep the cooking area clean and free of debris. Install a firebreak, such as a non-combustible surface, around the oven. Always monitor the oven during use and maintain a fire extinguisher nearby. Properly store fuels and kindling away from heat sources. Follow local fire safety regulations and ensure the chimney is clear of obstructions. By taking these precautions, you can enjoy your wood-fired oven safely and efficiently.
7.2 Regular Maintenance Practices
Regular maintenance is crucial to extend the life of your wood-fired oven and ensure optimal performance. Start by cleaning the interior after each use, removing ash and food residue to prevent buildup. Inspect the oven’s exterior for cracks or damage, especially in the dome and chimney, and repair them promptly. Apply a protective render or sealant to shield the structure from weather elements. Check and clean the chimney regularly to maintain proper airflow and prevent creosote accumulation. Schedule an annual professional inspection to address any potential issues. Additionally, store fuels in a dry, well-ventilated area to ensure they remain in good condition. Consistent upkeep will help maintain your oven’s efficiency and safety for years to come.
Historical and Cultural Significance
Wood-fired ovens have deep historical roots, tracing back to ancient civilizations. Their design, influenced by Roman historian Vitruvius, reflects timeless cultural and culinary traditions cherished globally.
8.1 The Evolution of Wood Fired Ovens
The evolution of wood-fired ovens traces back centuries, with early designs appearing in ancient Rome and Italy. These primitive ovens, often simple clay structures, were used for cooking and heating. Over time, their design refined, particularly in Italy, where the Neapolitan-style oven emerged, characterized by its domed shape and brick construction. The Roman historian Vitruvius documented early oven designs, highlighting their importance in daily life. As civilizations evolved, so did oven technology, with advancements in materials like firebricks and refractory mortar. Today, wood-fired ovens blend traditional craftsmanship with modern techniques, preserving their historical charm while offering improved performance. This evolution reflects human ingenuity and the enduring love for wood-fired cooking.
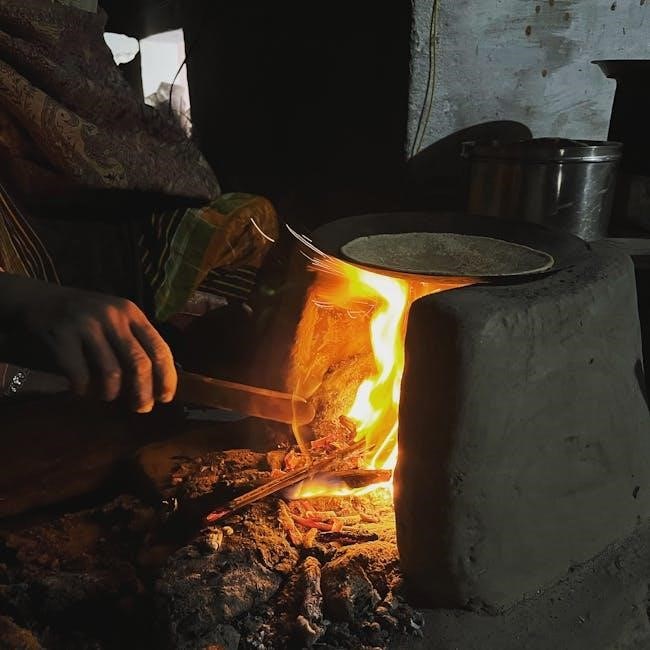
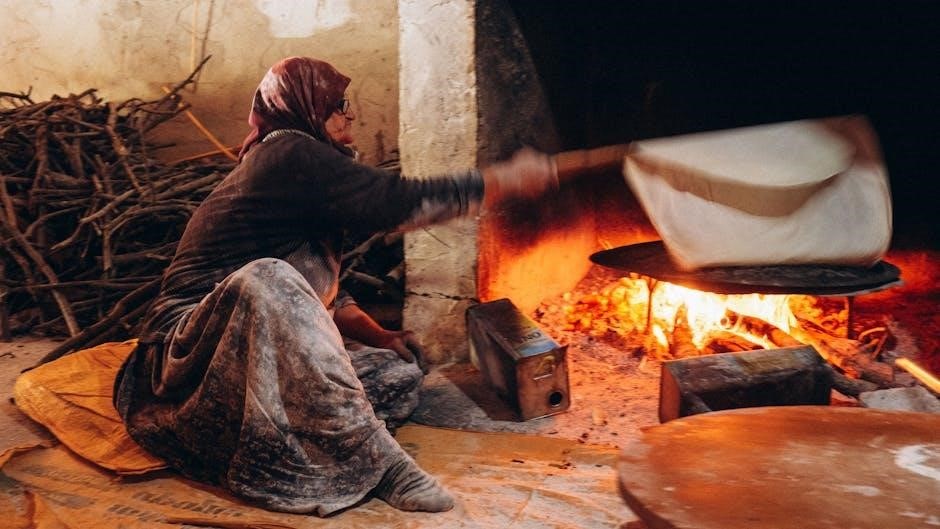
8.2 Traditional Uses in Different Cultures
Wood-fired ovens have deep roots in global culinary traditions, serving as central cooking hubs across various cultures. In Italy, they are iconic for crafting authentic Neapolitan pizza, while in Mediterranean regions, they are used for slow-cooking meats, stews, and breads. Latin American cultures often employ similar ovens, known as “horno,” for traditional dishes like empanadas and roasted vegetables. In Europe, wood-fired ovens are integral to village life, baking bread and roasting foods for communal gatherings. These ovens symbolize warmth, community, and heritage, preserving centuries-old cooking methods. Their enduring popularity highlights their adaptability and the universal love for wood-fired cuisine, making them a timeless addition to any backyard or kitchen.
Cost and Time Estimates
Building a wood-fired oven typically costs between $500 to $2,000, depending on materials and size. Construction time ranges from 7 to 14 days, including curing.
9.1 Budgeting for Materials and Tools
Budgeting for a wood-fired oven project involves estimating costs for materials like firebricks, refractory mortar, sand, and concrete. Tools such as trowels, levels, and safety gear are also essential. Costs vary depending on oven size and design, but expect to spend between $500 to $2,000 for materials alone. Tools may add another $100 to $300, depending on what you already own. PDF plans often include detailed lists to help estimate expenses accurately. Consider sourcing materials locally to reduce costs. Additionally, repurposing items like bricks or steel for the chimney can help stay within budget. Proper planning ensures you don’t overspend while building a durable, high-quality oven;
9.2 Time Required for Construction
Building a wood-fired oven is a time-intensive project that requires careful planning and execution. Depending on the design and size, construction can take anywhere from a few days to several weeks. A basic oven might be completed over a summer weekend, while more complex designs could require up to a month. Factors like curing time for the mortar and insulation must also be considered, adding at least a week to the timeline. For first-timers, breaking the project into smaller, manageable steps is key to staying on track. With proper preparation and help, some ovens can even be assembled and ready for use within half a day. Plan accordingly to ensure a successful and enjoyable build.
Building a wood-fired oven is a rewarding project that combines tradition and modern cooking. With proper planning and execution, you’ll enjoy countless gatherings and delicious meals. Start your culinary adventure today!
10.1 Final Thoughts on Building a Wood Fired Oven
Constructing a wood-fired oven is a fulfilling project that blends tradition, craftsmanship, and culinary joy. With detailed PDF plans, you can create an authentic oven that enhances outdoor gatherings. Remember, patience and attention to detail are key to achieving a durable and efficient oven. The process may seem daunting, but breaking it into manageable steps makes it achievable. Once complete, you’ll enjoy the satisfaction of cooking delicious meals while connecting with family and friends. Embrace the journey, and let your wood-fired oven become the heart of your backyard culinary adventures for years to come!